Step 1
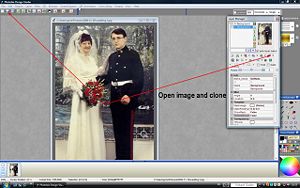
First open the desired image on which you want to use the effect on.
Step 2

Now clone your image and select whole region of current layer then set your primary color to white and select fill current region.
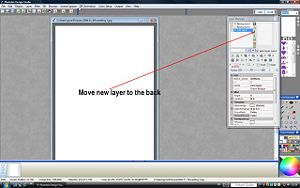 You should now have three layers two background layers and a new layer.
Step 3
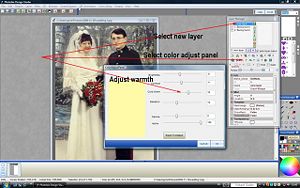
Now move your new layer to the back and select the color control panel in the layer manager and move the cold warm slider to the right until you have a setting of about sixteen.
Step 4
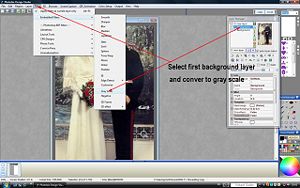
Now select your first background layer and convert it to grayscale using the embedded filters.
Step 5

Now select the color control panel and move the cold warm slider to the right to a setting of about twenty six to give a nice sepia color.
Step 6
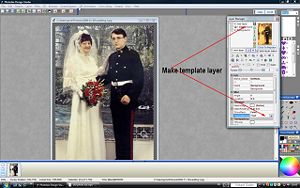
Now expand your layer manager and set your template layer to true and click on click to replace.
Step 7
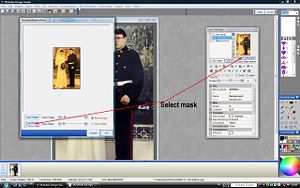
Click on replace mask in the template replace panel and chose a square/ rectangular mask with a thin boarder gradiating from black to white and select.
Step 8
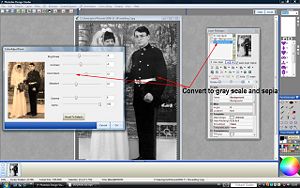
Now select your second background layer and repeat the process of gray scaling and converting to sepia with a warm setting of about twelve.
Step 9
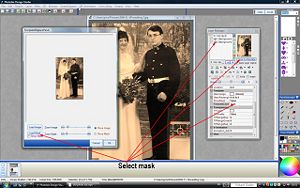
Now set your layer as a template layer and this select a round or oval mask gradiating from white to black.
Step 10
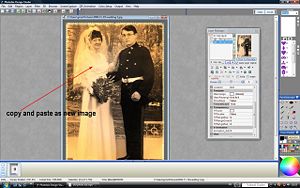
Now make any fine adjustments to the layers that you might want to make before flattening all your layers into one, you can now had a bit of noise to give a film grain effect using the jitter filter if you want. Once you have made all your adjustments you want copy and paste as a new image in order to preserve your original image.
0 comments:
Post a Comment